How to Build a Podcasting Studio: The Hardware
Homebrew solution for Linux that will work on other platforms
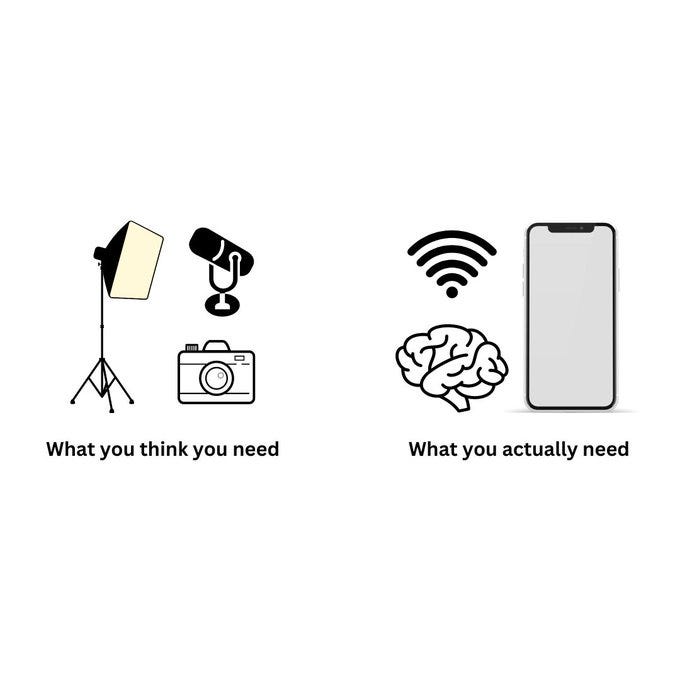
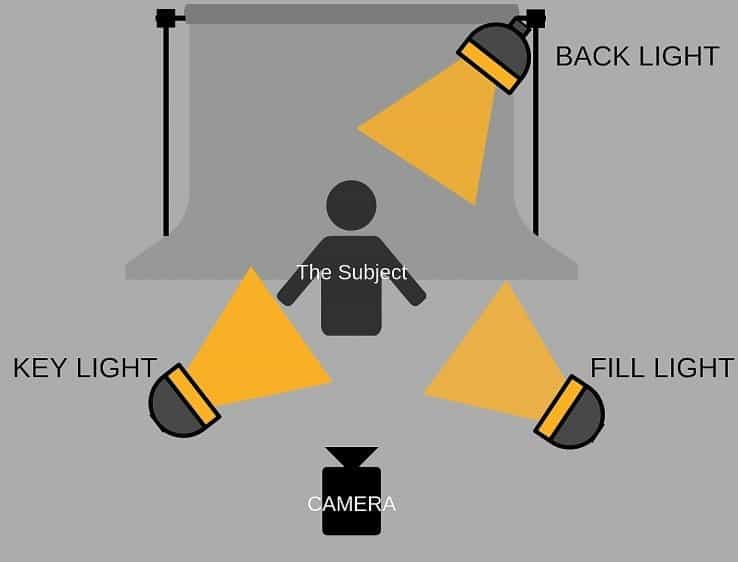
Update 16/x 2024: I failed to make it abundantly clear that the solution described herein is unnecessary overkill for producing content. In fact all you really need is a cellphone and an Internet connection. The following image reflects my sentiments: the design below is the diagram on the left when in truth, the essential components to fullfil your requirements are pictured the diagram on the right.
Introduction
Last year I came to prominence producing hyper-local news content, primarily video footage of significant events in my vicinity. Suddenly becoming (in)famous was a learning experience including what equipment to use and which tools to employ. I’ve written about this in previous articles.
I decided to add to my capabilities. I wanted to be able to conduct remote interviews, perform pieces to camera, live mix varied content during broadcasts and interact with an online audience in real time, from my home office. To achieve these things I needed to build a podcasting set with adequate sound, lighting and background.
The primary design constraint is cost. Producing content is a hobby and I wanted to minimise the outlay that is unlikely to ever achieve a return. I’m not opposed to spending where necessary but am always seeking economy, including recycling components I already possess, the components most people will possess too. If you already own a cellphone and a computer, read on.
The secondary constraint is Linux. I’m a proponent of Free and Open Source software and Linux is my primary operating environment. All hardware must be compatible with Linux and where necessary its derivative, Android.
The third constraint is re-purposing. As much as possible I utilised equipment I already possess, that most people would. My existing workstation, monitor, cellphones and tablet for example. This solution augments the technology I have in place rather than being a dedicated, stand-alone podcasting studio. I also favoured equipment I can use in the field as well. For example, lighting and mounts that fit my 360° filming rig for use when I’m out and about.
The primary objective is to produce compelling content with as much polish as is readily achievable. I’m seeking to achieve broadcast quality audio and studio-style three point lighting alongside the ancillary components necessary to control the software.
There has been a fair amount of trial-and-error in developing this solution, and I’ve taken a great deal of advice from those with greater experience. While there is scope for further evolution the solution has reached a plateau of maturity I’m comfortable enough to document. As a DISCLAIMER, this is the solution that works for me, operating for and operated entirely by myself. With it I can (and do) stand up a live broadcast to numerous social media platforms concurrently and engage with my audiences across all of them in less than five minutes.
Your use-cases might be different. Nevertheless this is a solution I am confident will be suitable for Windows, Mac and Linux users seeking an inexpensive and extensible yet quality podcasting capability. Personally the only component I’m even considering upgrading is the microphone.
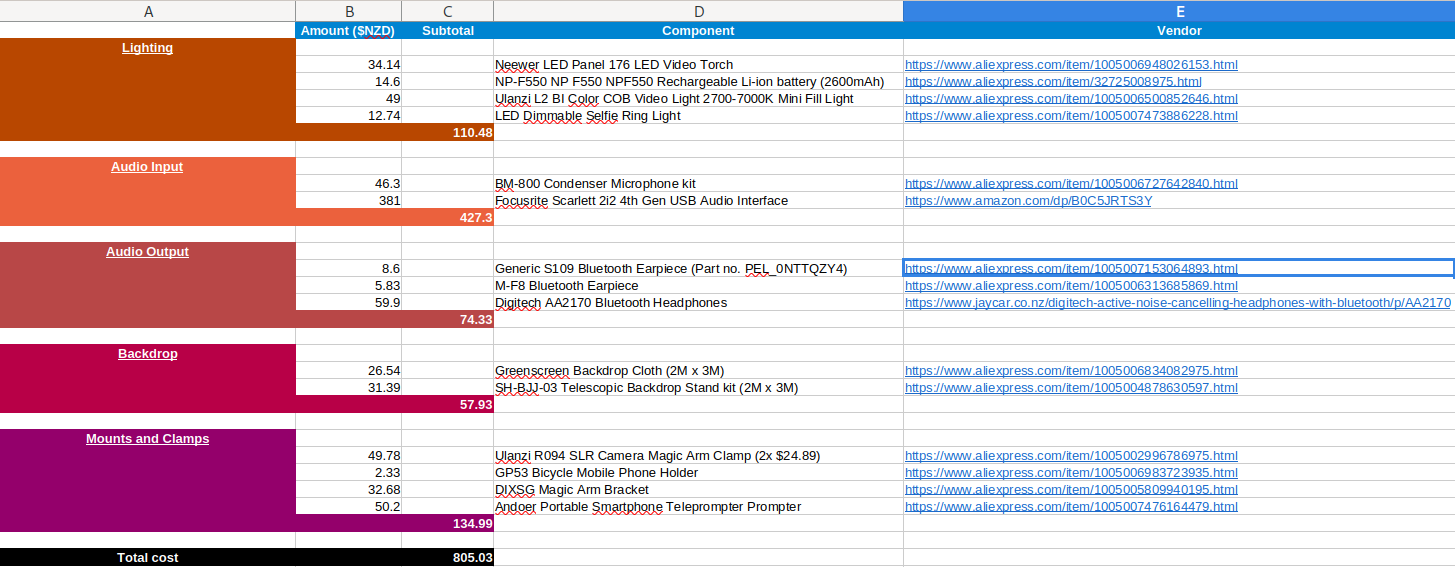
The components
All prices are $NZD. These components were mostly acquired from AliExpress where many different vendors offer the same product at different prices. I shopped around seeking the best deals.
Lighting
- $34.14 Neewer LED Panel 176 LED Video Torch (Key Light)
- $14.60 NP-F550 NP F550 NPF550 Rechargeable Li-ion battery (2600mAh)
- $12.74 LED Dimmable Selfie Ring Light (Fill Light)
- $49.49 Ulanzi L2 BI Color COB Video Light 2700-7000K (Back Light)$110.48 Lighting subtotal
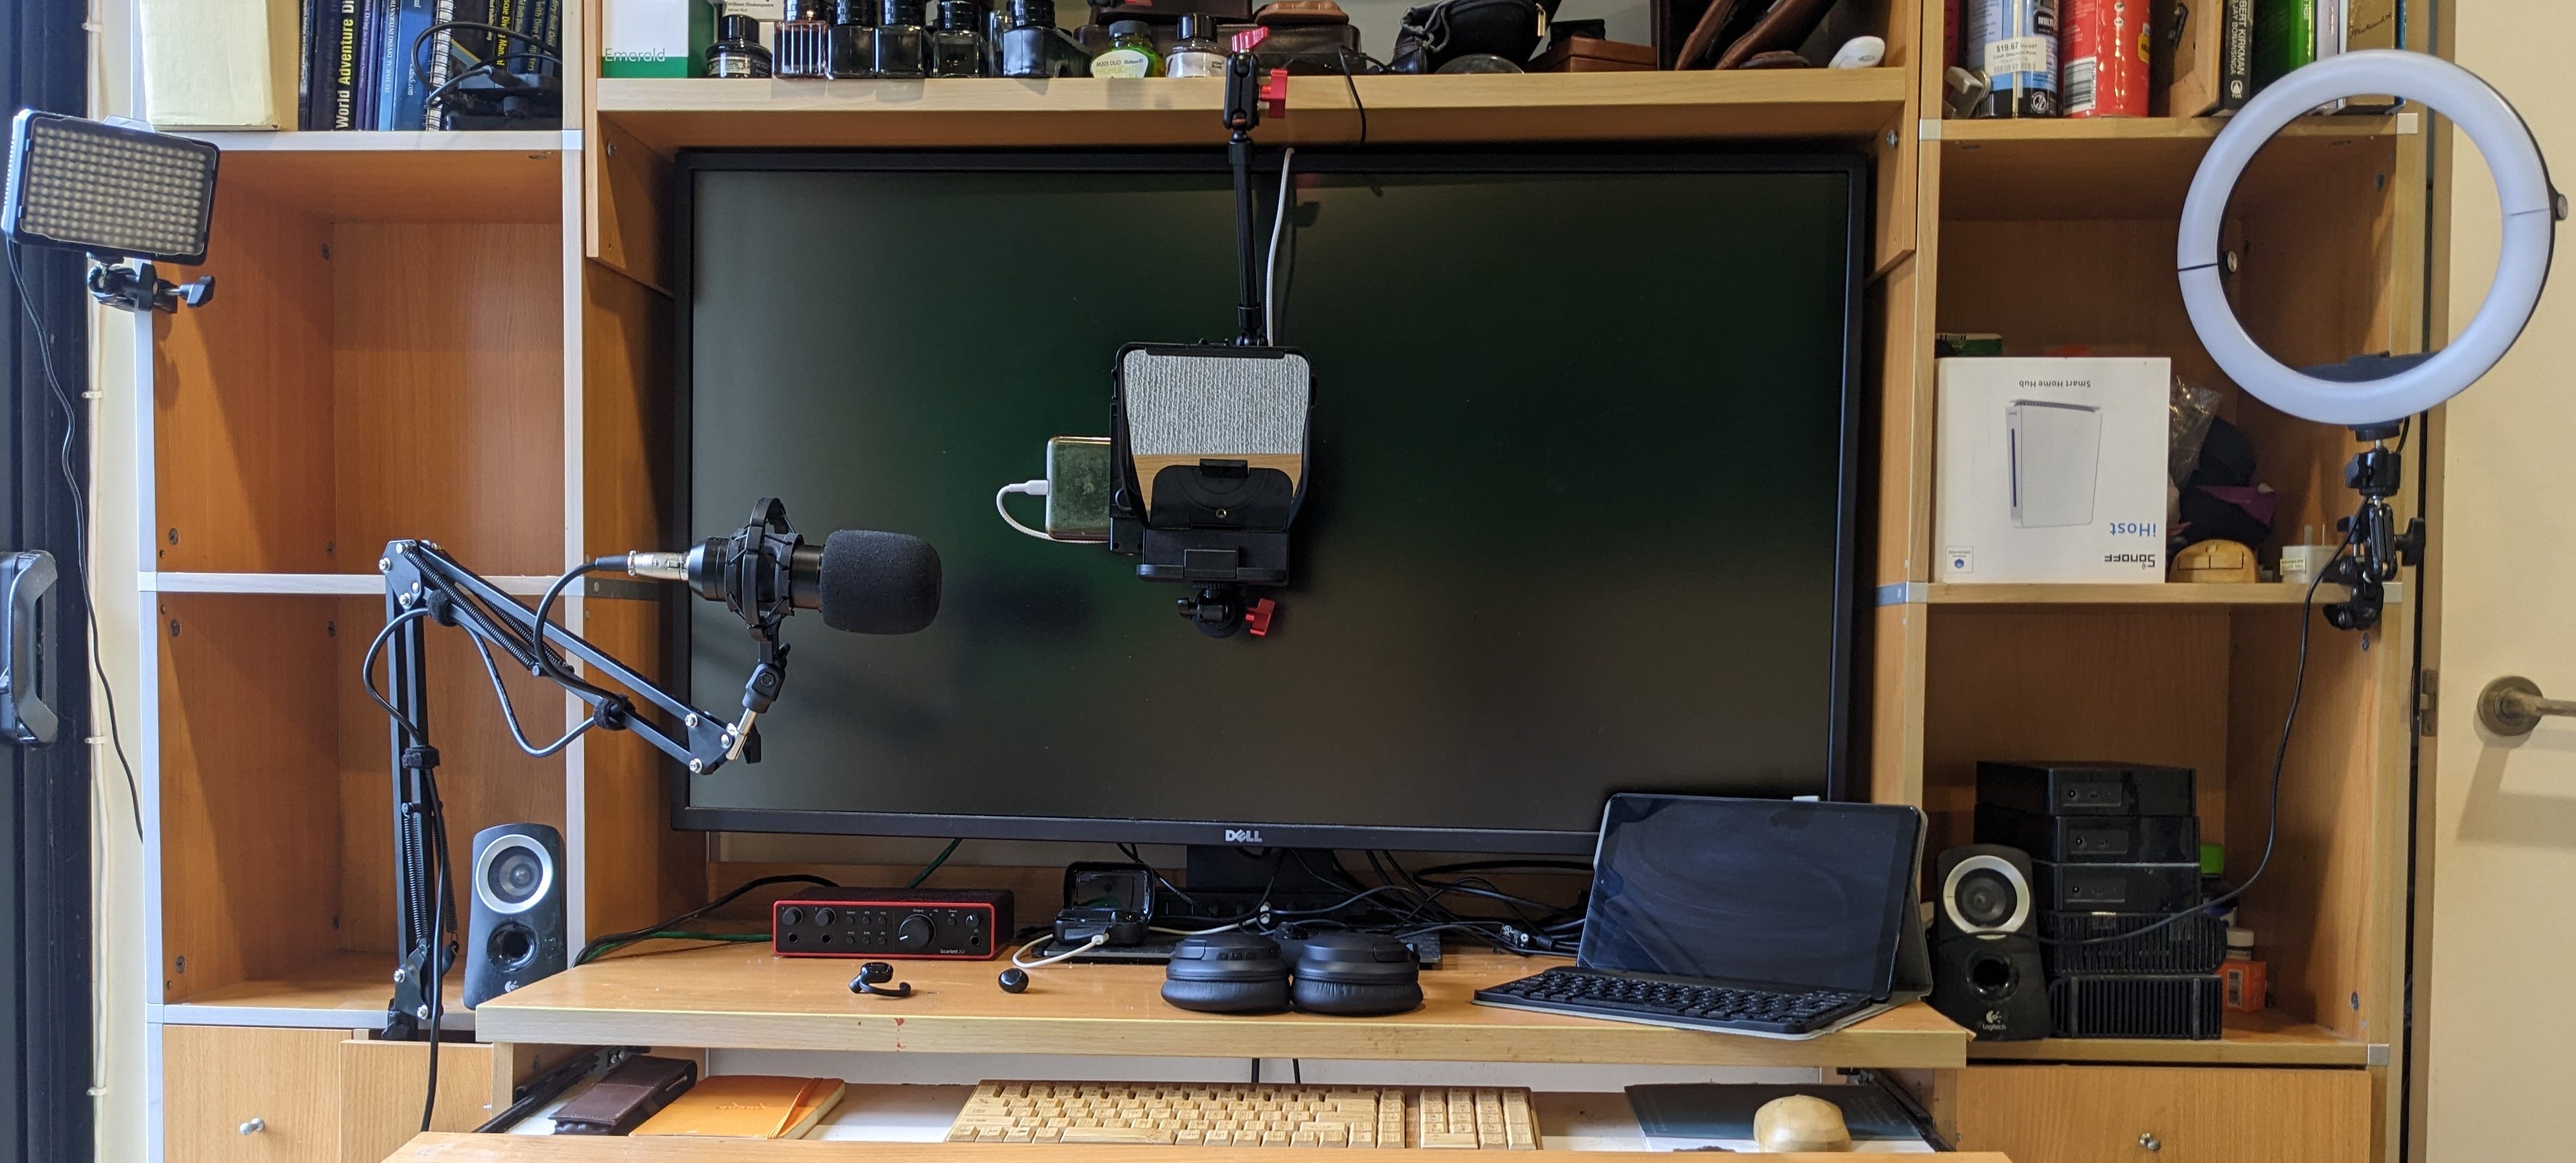
I implemented the standard three point lighting system used in photography, consisting of a key, fill and back lights. All three are positioned a little over a metre from the subject (me.)
Camera
This came at no cost as I use my existing cellphone. While a professional camera such as a Nikon Z30 would be an improvement the cameras in modern cellphones are perfectly adequate.
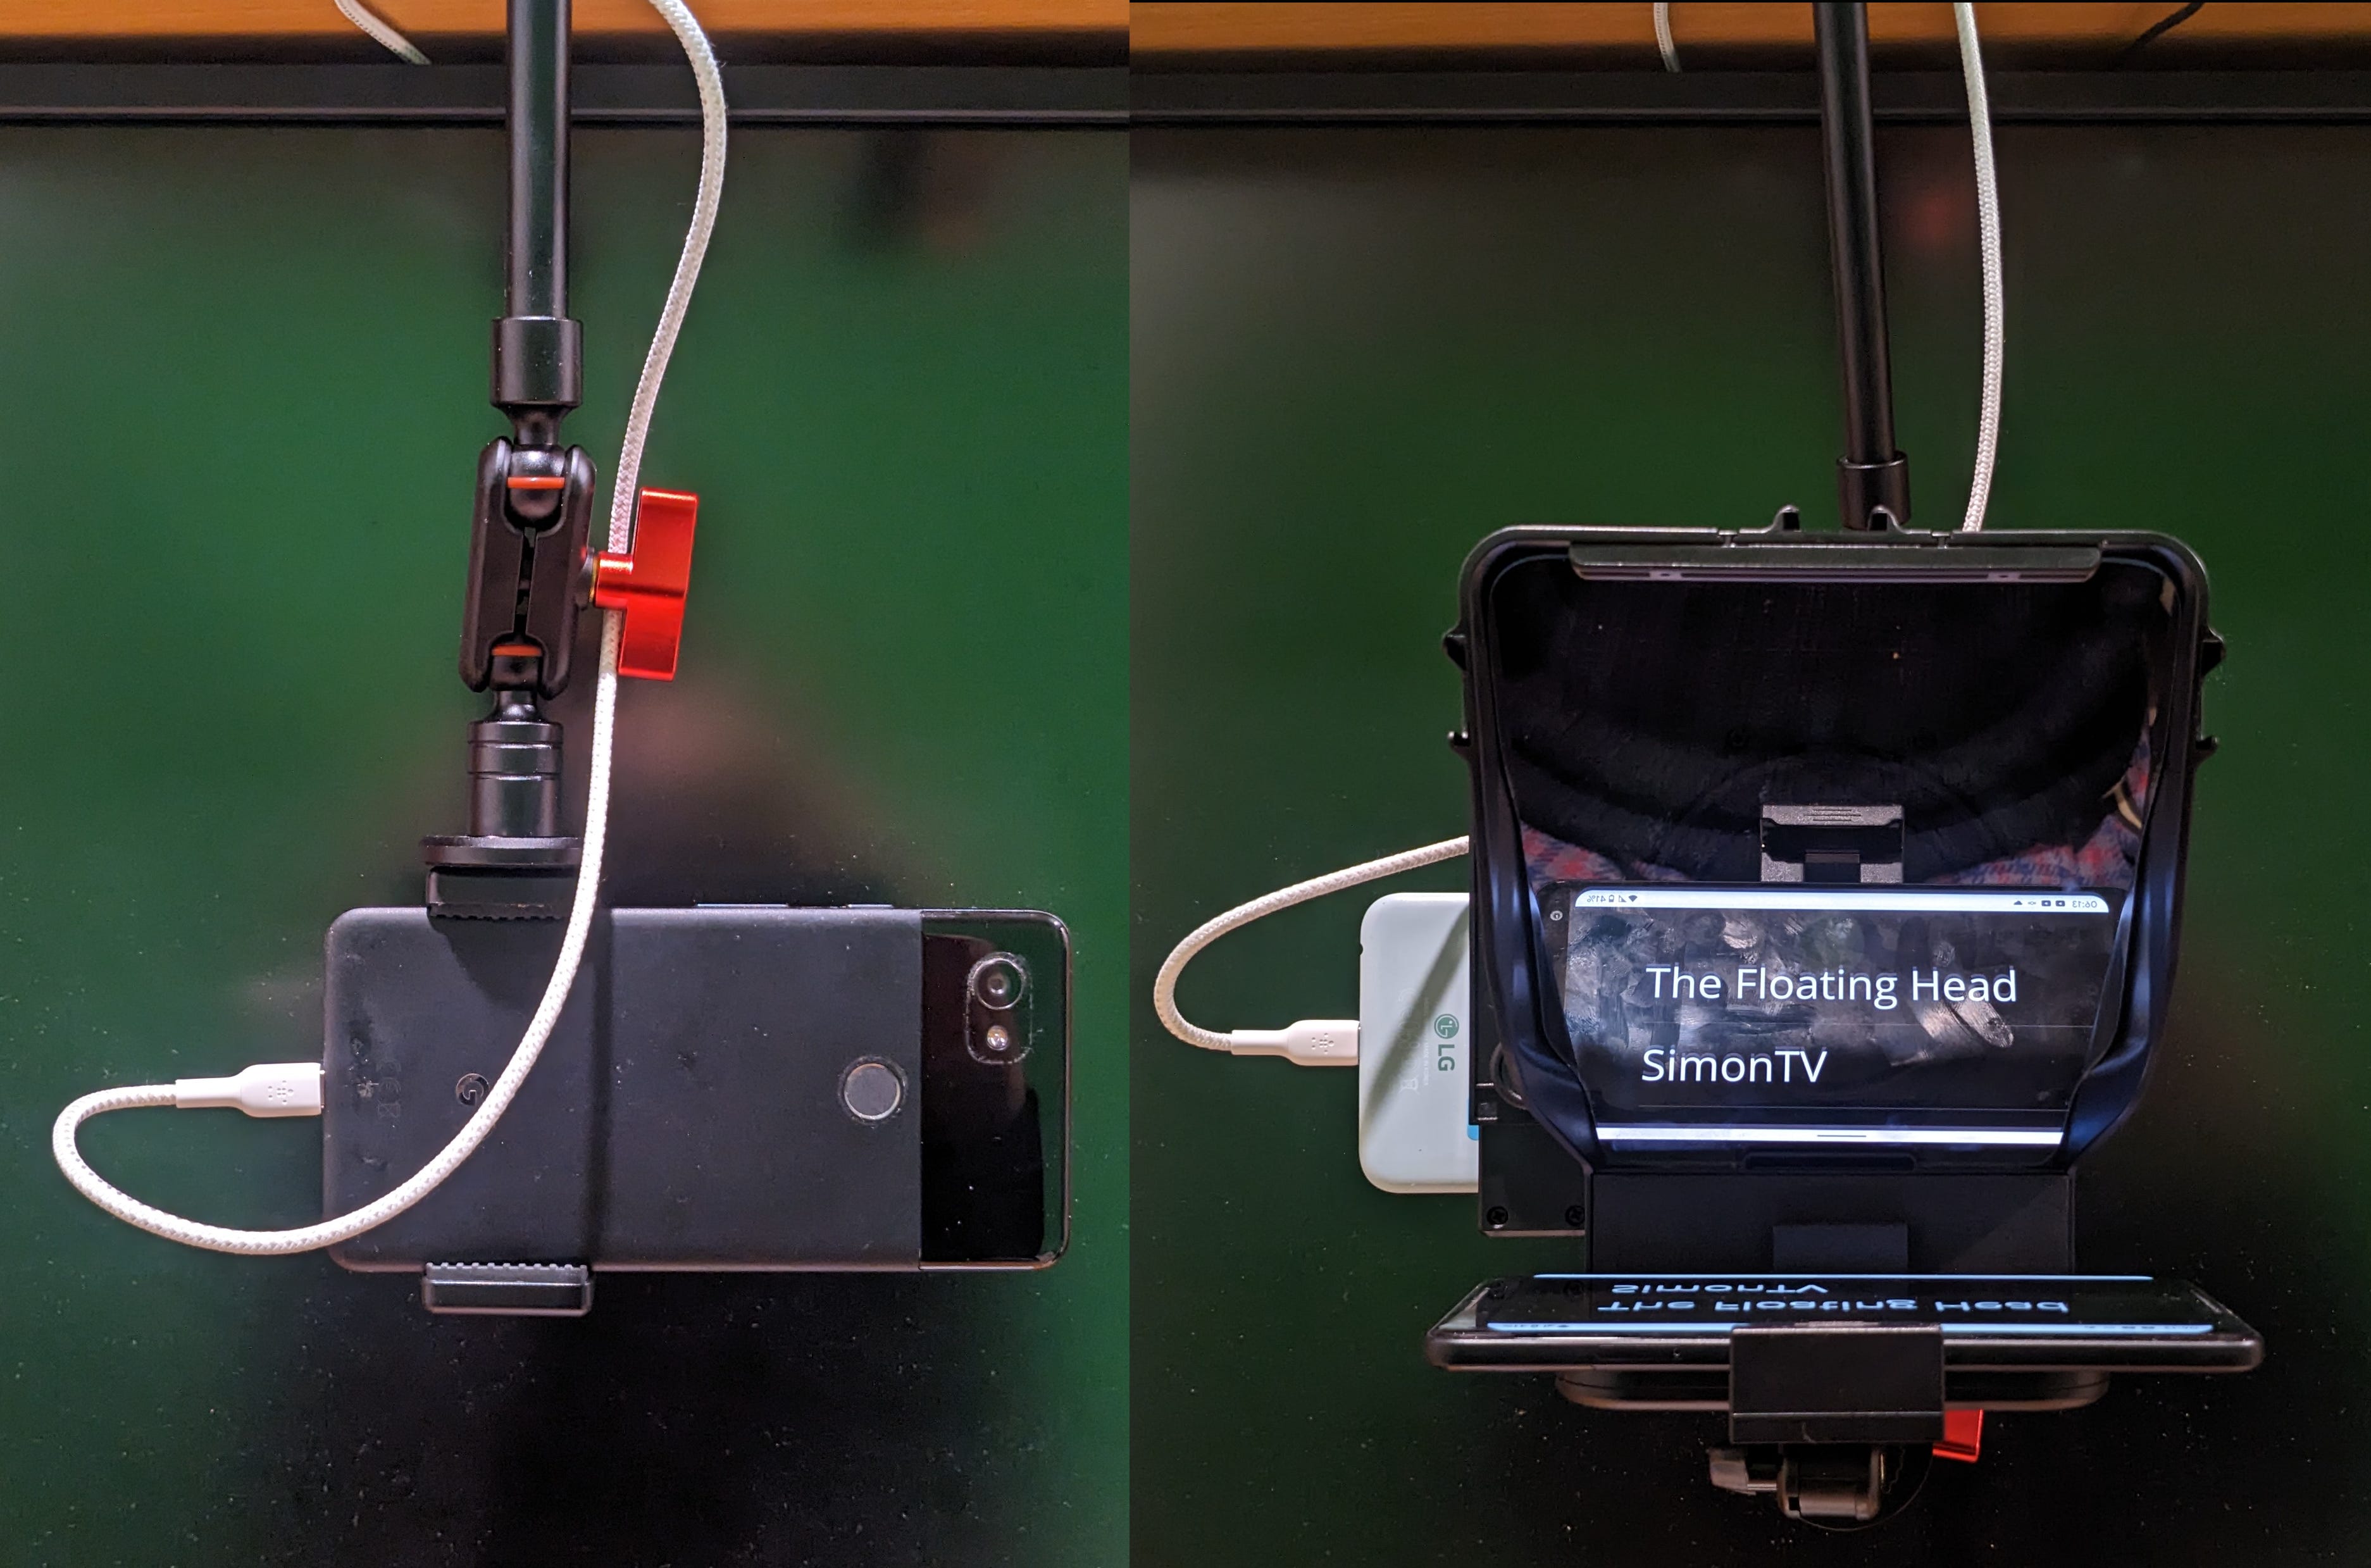
I have two arm clamps attached to the shelf above my monitor so I can swing them out of the way when I’m not using them. One is fitted with a standard cellphone mount and the other has a teleprompter mount. I use another cellphone to present the teleprompter text and perform the voice activation.
Audio Input
- $46.30 BM-800 Condenser Microphone kit
- $381.00 Focusrite Scarlett 2i2 4th Gen USB Audio Interface$427.30 Audio Input subtotal
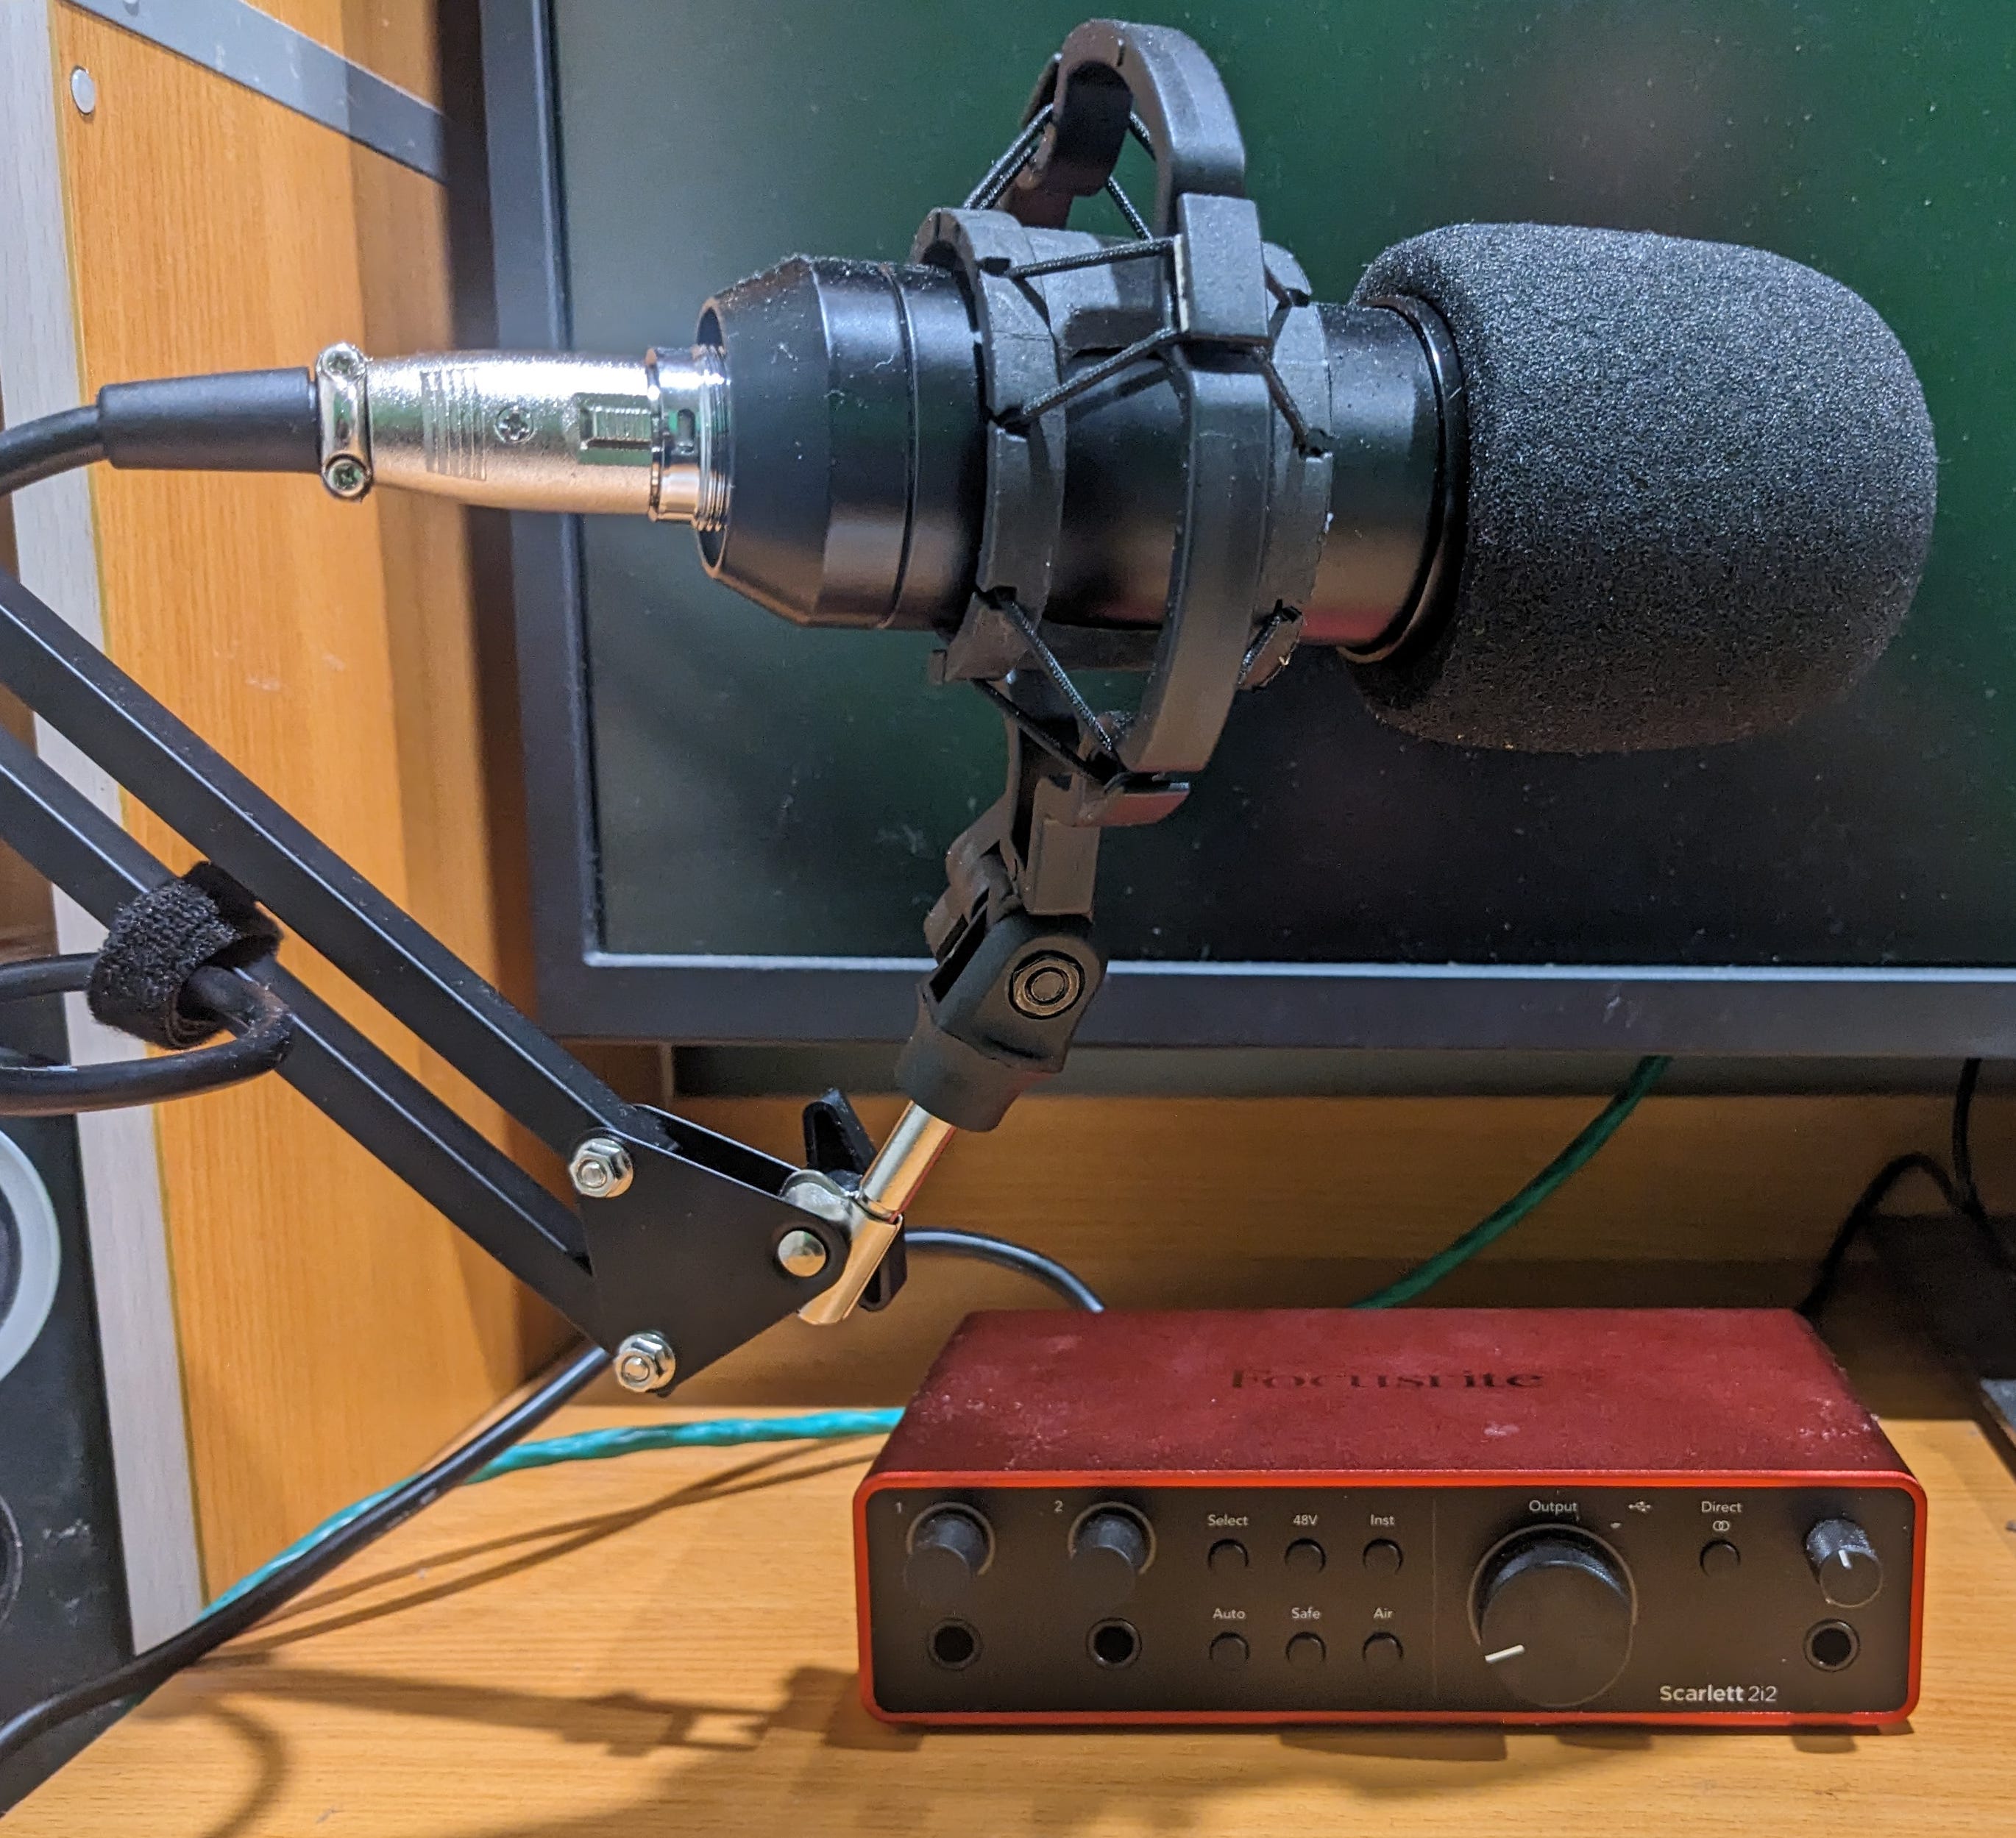
This is where things get tricky because I know very little about audio engineering. The cheapest solution would be simply to spend $50-100 or so on a USB microphone that connects directly to my workstation. I decided to dive in on a proper audio solution by using a condenser microphone which necessitates an additional component: an audio interface.
The microphone is a generic Chinese model. It is working surprisingly well but it is the one component in the overall solution most likely to need an upgrade. The kit came with a scissor mounting arm which is convenient for swinging it out of the way when not in use.
The audio interface is the most expensive component of the solution. Its purpose is to convert the analogue signal from my microphone into a digital signal I can use in software using audio processing. There are many devices that perform this function at varying degrees of quality, with prices to match. The Focusrite is all the quality and sophistication I will ever need and it is to be fair, a luxury. The determining factor is it is fully supported in Linux.
Audio Output
- $8.60 Generic S109 Bluetooth Earpiece
- $5.83 M-F8 Bluetooth Earpiece
- $59.90 Digitech AA2170 Bluetooth Headphones$72.90 Audio Output subtotal
When I’m broadcasting I need to listen to multiple inputs, often concurrently. For example I could be listening to the music going out in the broadcast in one channel while cueing the next piece of video content in another. I control which audio channel goes to which output in software.
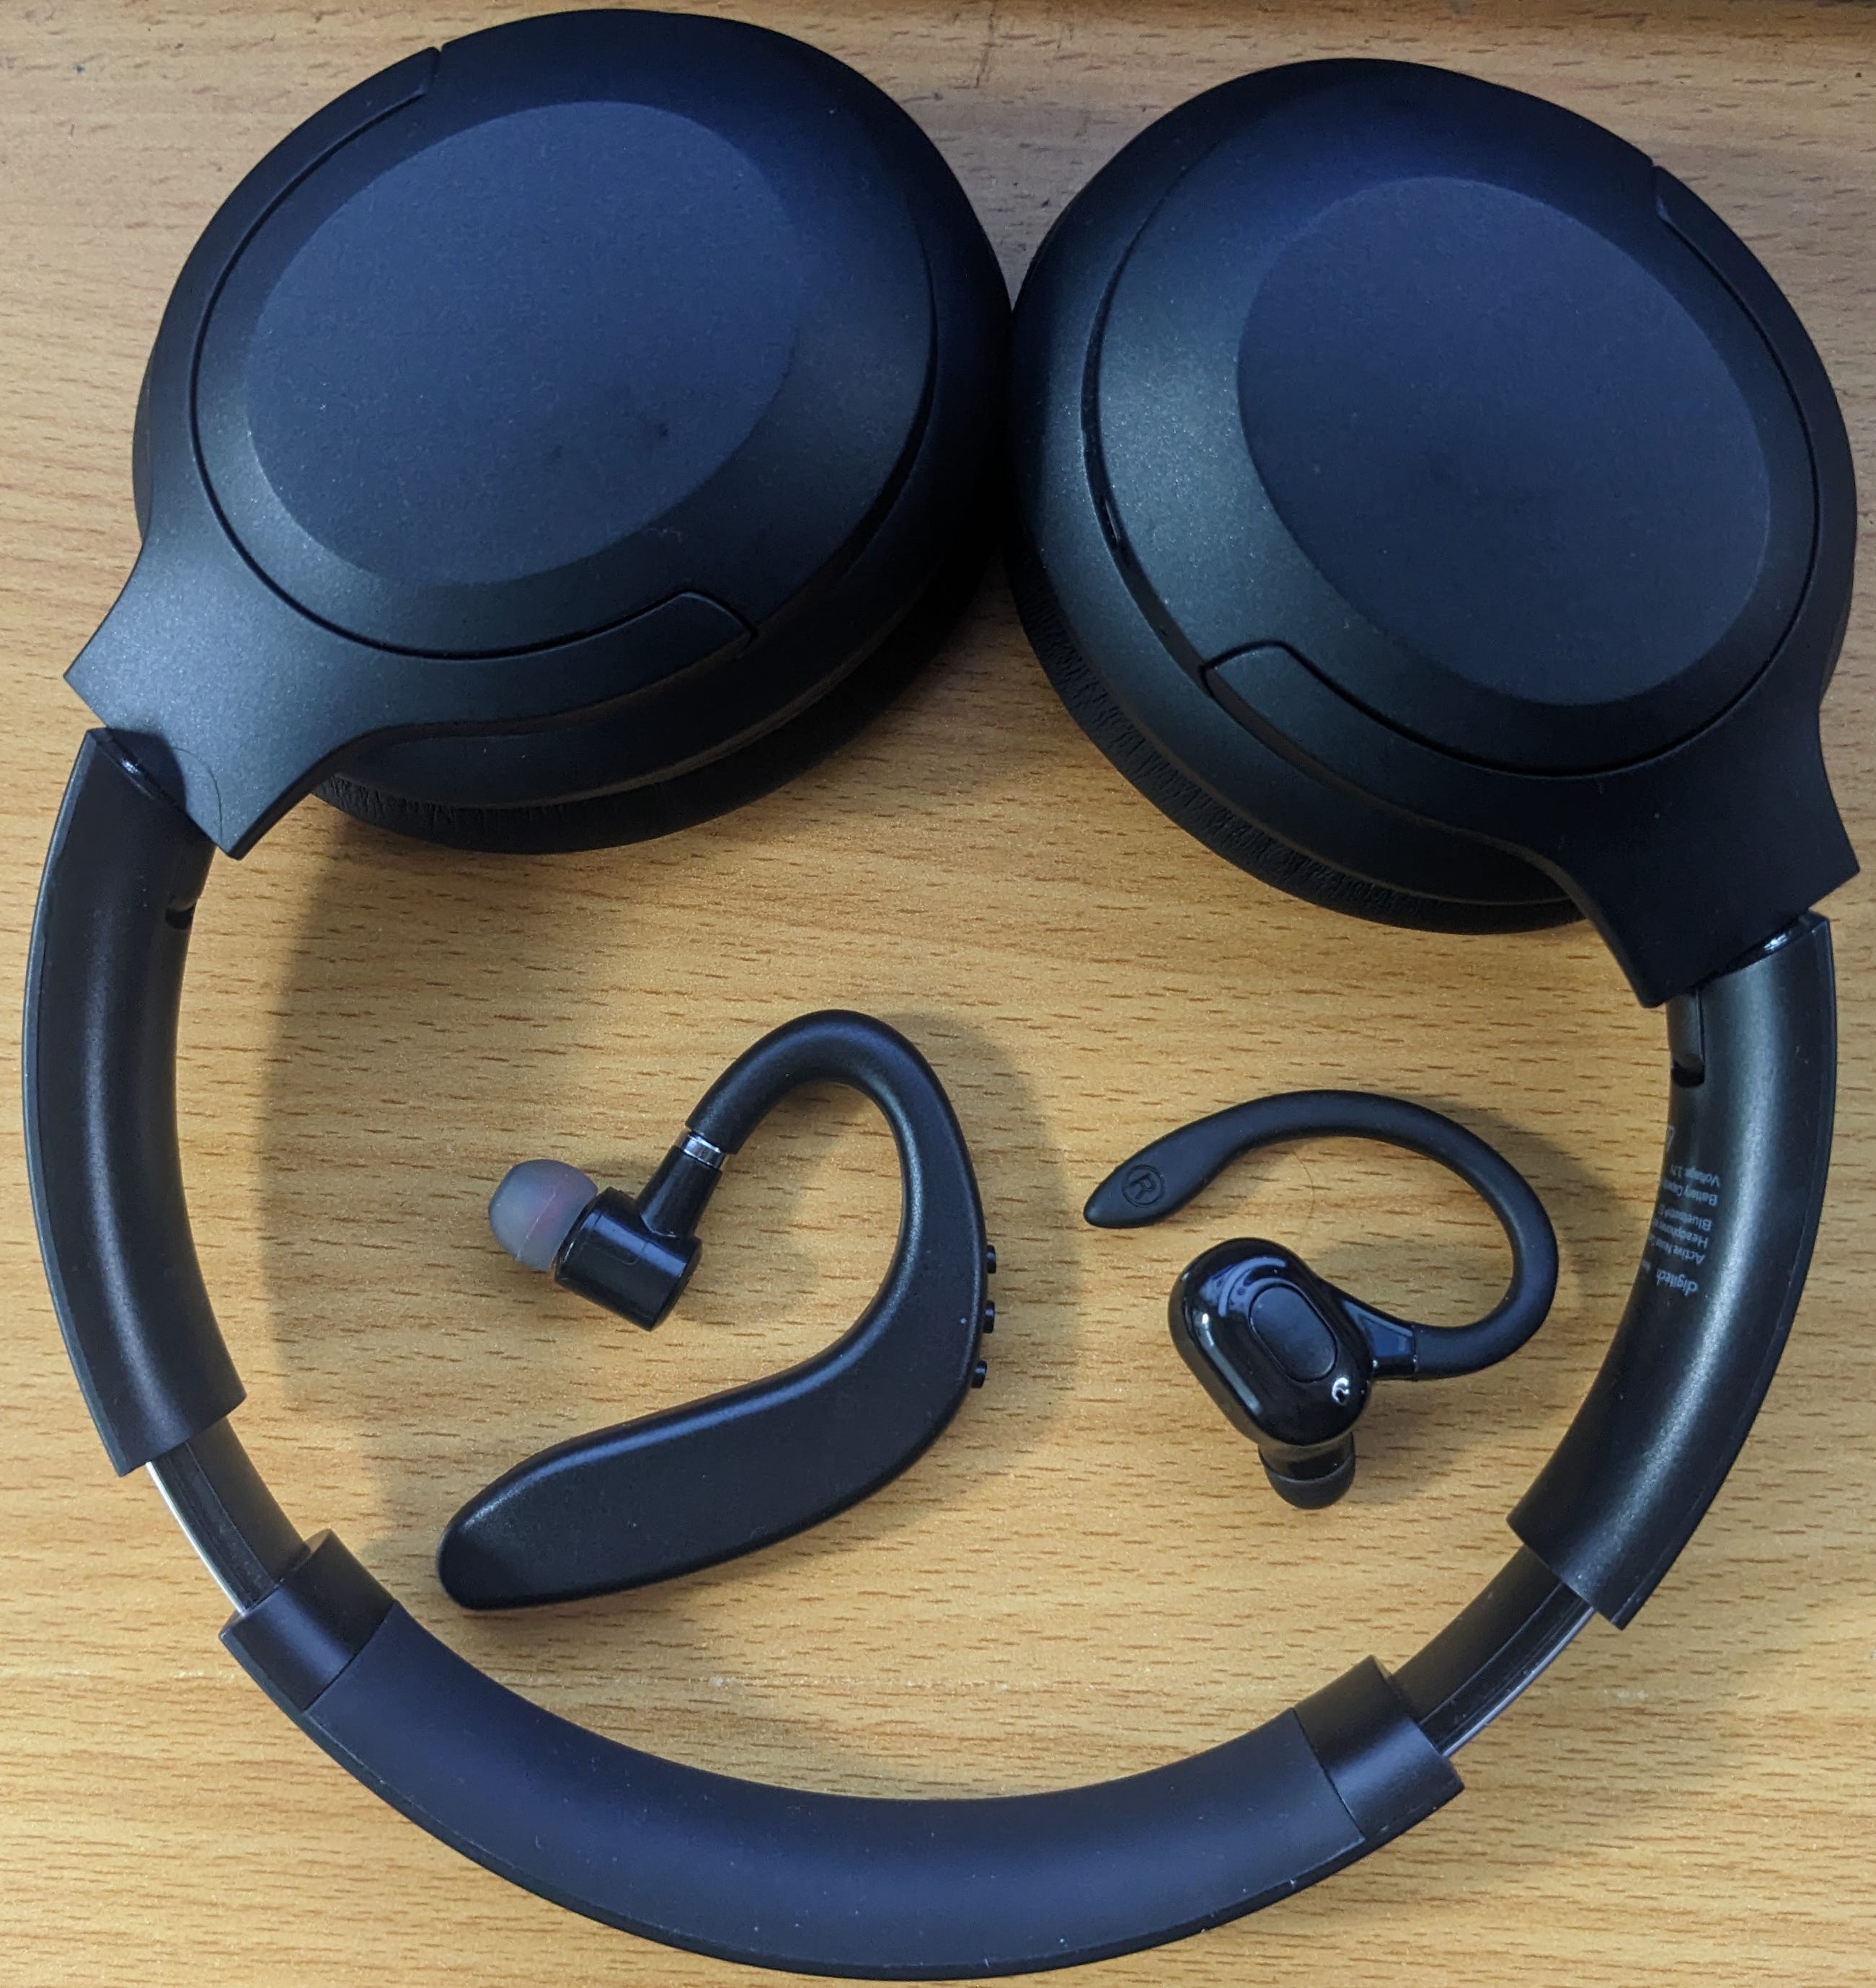
The solution I prefer is separate in-ear Bluetooth headphones because they’re unobtrusive. They’re also inexpensive. The models with an ear-hook are best but the choice for right-eared models on AliExpress is limited.
Over-ear headphones are necessary for audio tuning. The audio tuning process is complicated with many thresholds to set in hardware and software. While I don’t use over-ear headphones during broadcasts I do need headphones with good fidelity to tune the best quality from my audio input, meaning my voice.
Backdrop
- $26.54 Green screen Backdrop Cloth (2M x 3M)
- $31.39 SH-BJJ-03 Telescopic Backdrop Stand kit (2M x 3M)$57.93 Backdrop subtotal
I regularly superimpose myself over other content during broadcasts and to do this I need to edit out the background. I also really like the effect of presenting myself in negative space, the Floating Head people find so amusing. While it is possible to do this in software it requires more CPU workload to perform and the results are not as good as using a physical green screen.
There isn’t much to it. My green screen consists of two telescopic stands with a cross post that the green screen fabric hangs from. I also mount my back light on the frame.
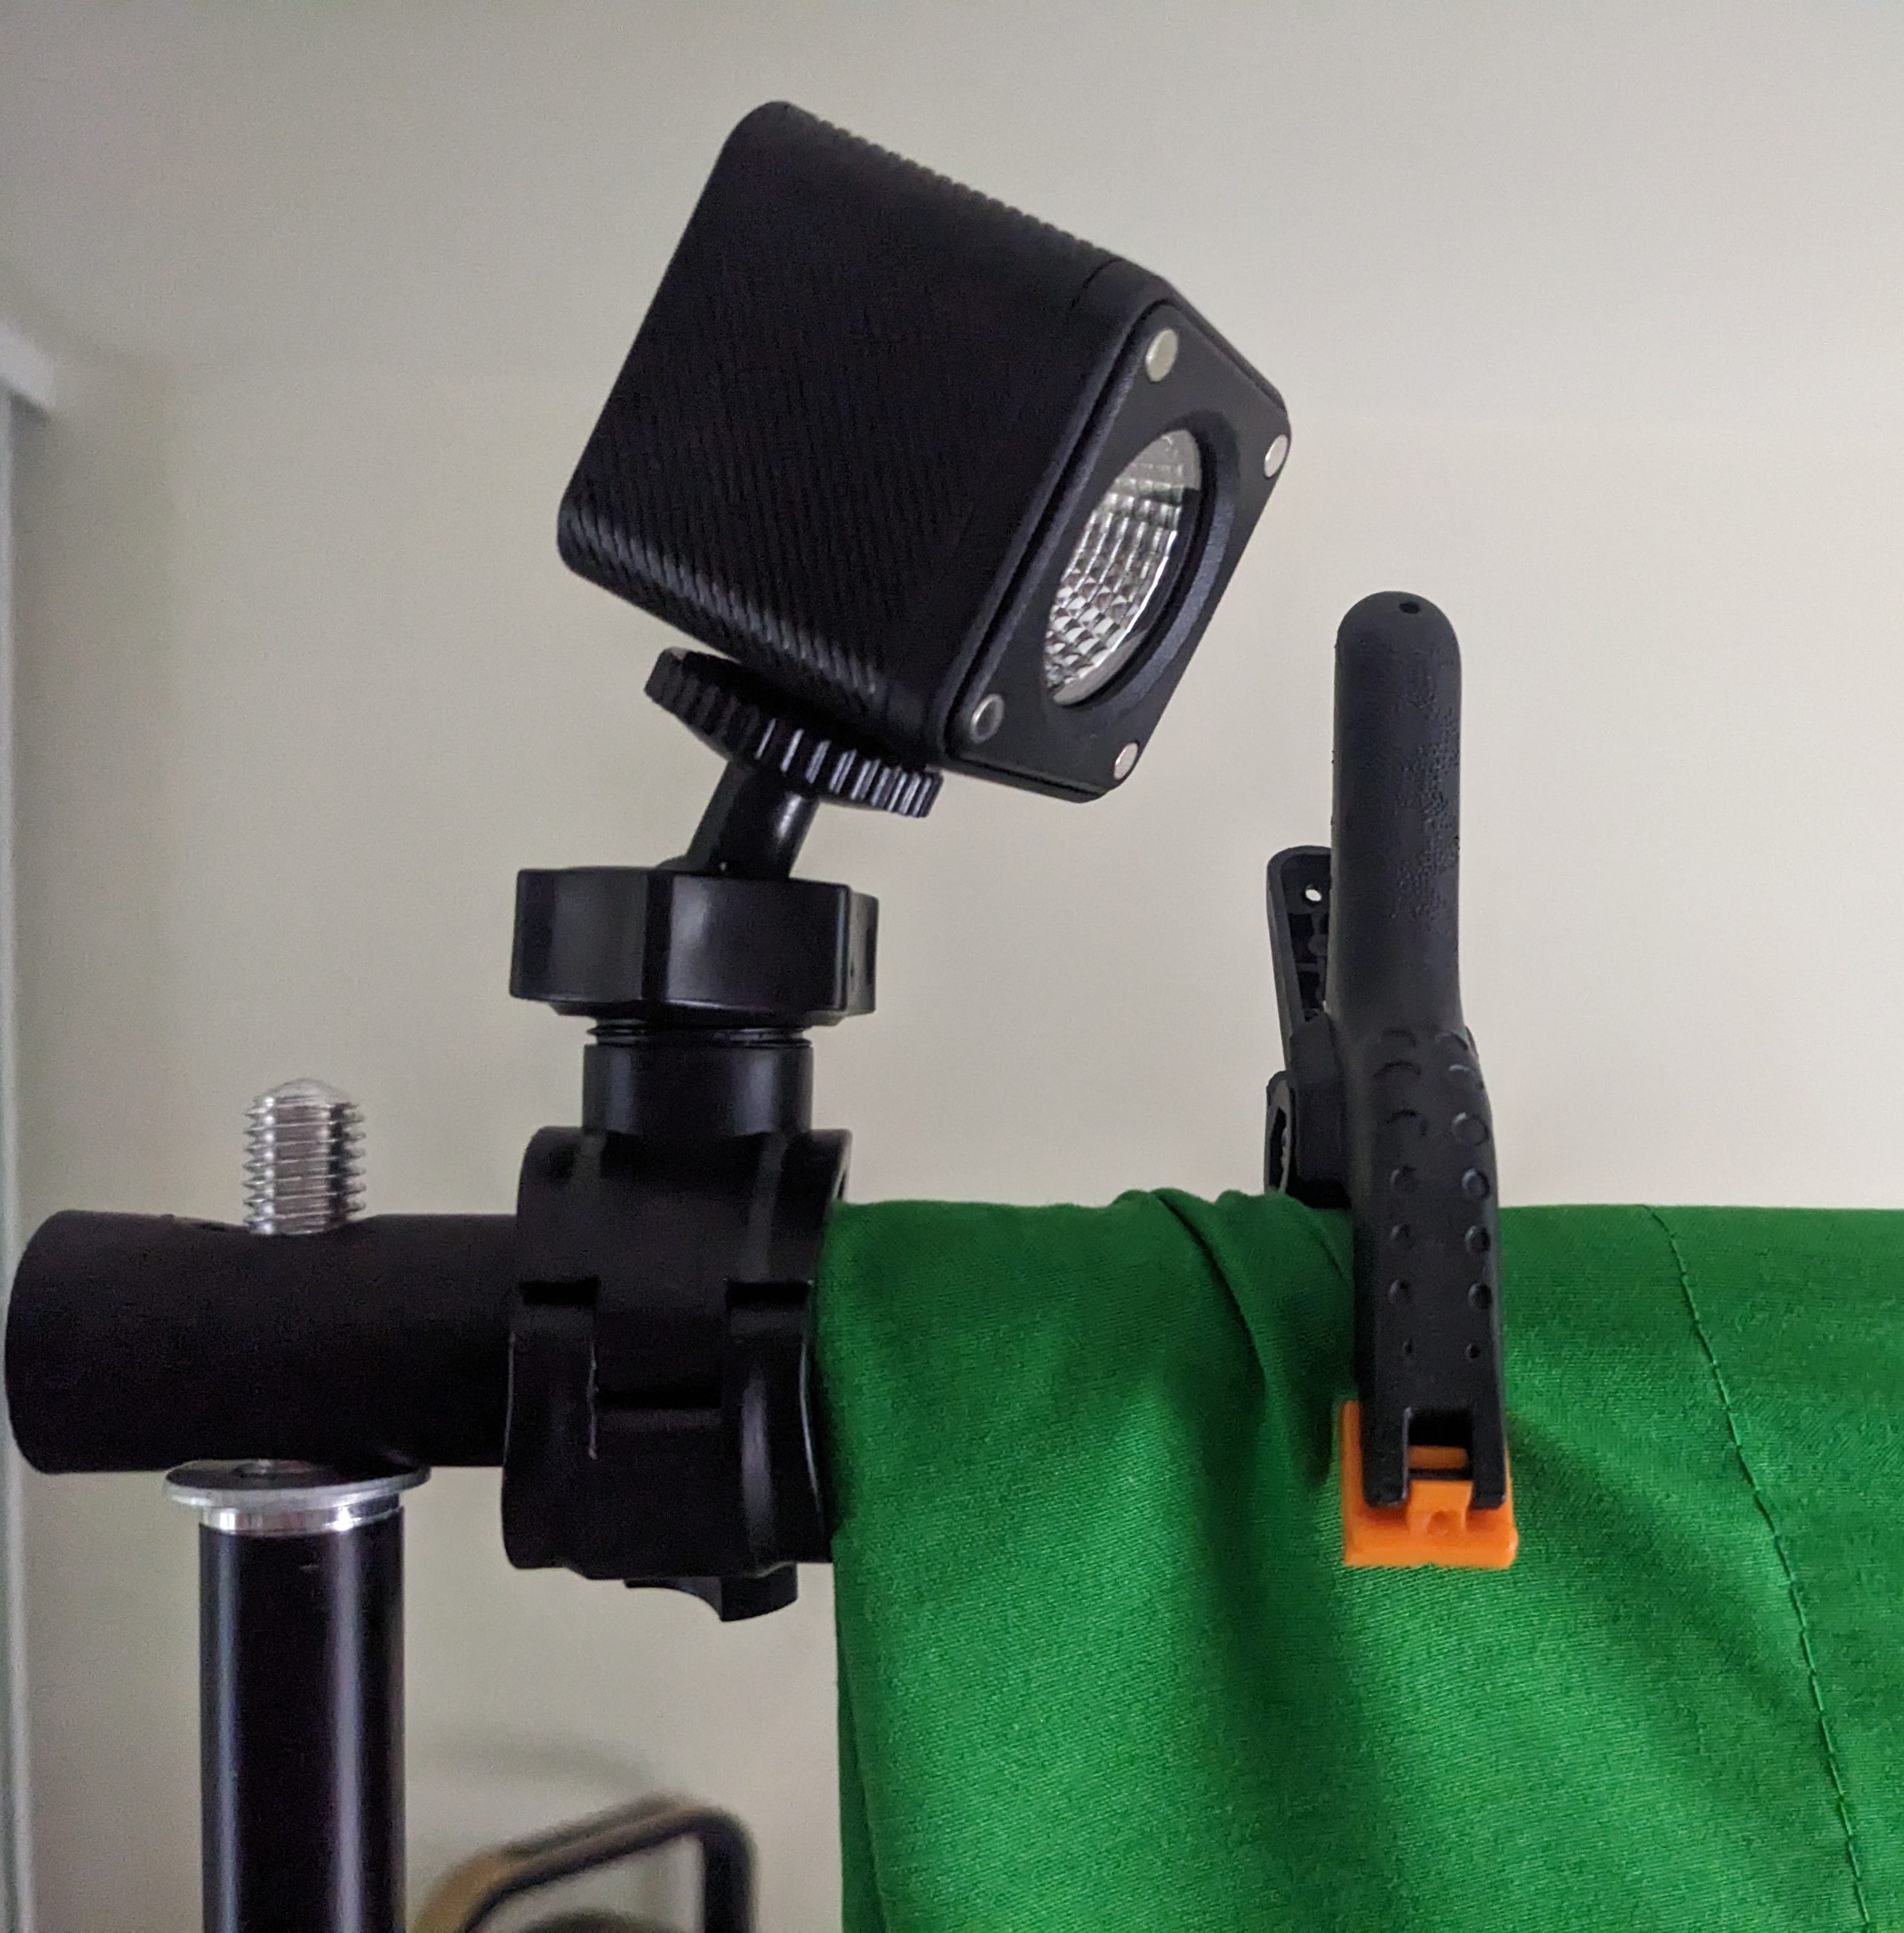
Mounts and Clamps
- $49.78 Ulanzi R094 SLR Camera Magic Arm Clamp (2x $24.89)
- $2.33 GP53 Bicycle Mobile Phone Holder
- $32.68 DIXSG Magic Arm Bracket
- $50.20 Andoer Portable Smartphone Teleprompter Prompter$134.99 Mounts and Clamps subtotal
Lighting, camera and microphones need to be attached to things and there are endless varieties of clamps, arms, mounts and stands. Selecting which is dependent upon your environment. For me the selection criteria was enough rotation in the mounts to be able to reposition the component, the ability to swing them out of the way when the component is not in use, sturdy, and light where possible.
Summary
This is the solution that works for me. There is always room for improvement and the glaring deficiency is the quality of the microphone but to be honest I’m happy with it, at least for now.
I haven’t mentioned soundproofing because I fortunately don’t require it. Soundproofing panels seem inexpensive to acquire though and I have experimented with isolators around my microphone that work well but I’ve found them to be unnecessary.
I could significantly lower the cost of this solution at the cost of convenience. For example the battery for the LED panel key light isn’t strictly necessary and I could make do with one magic arm clamp instead of two if I could be bothered changing the mounts between phone and teleprompter. This would save me $40.
The greatest economy could be achieved by replacing my analogue audio input components with a simple USB microphone. With a stand this would cost somewhere in the region of $150 for a very good one, saving me about $280. If I’m honest, the Focusrite audio interface does feel like an extravagance.
The total cost of this solution is $NZD 805.30 -with the economies mentioned in the preceding paragraph the total would be about $480. Not bad I reckon, for a homebrew broadcasting studio.